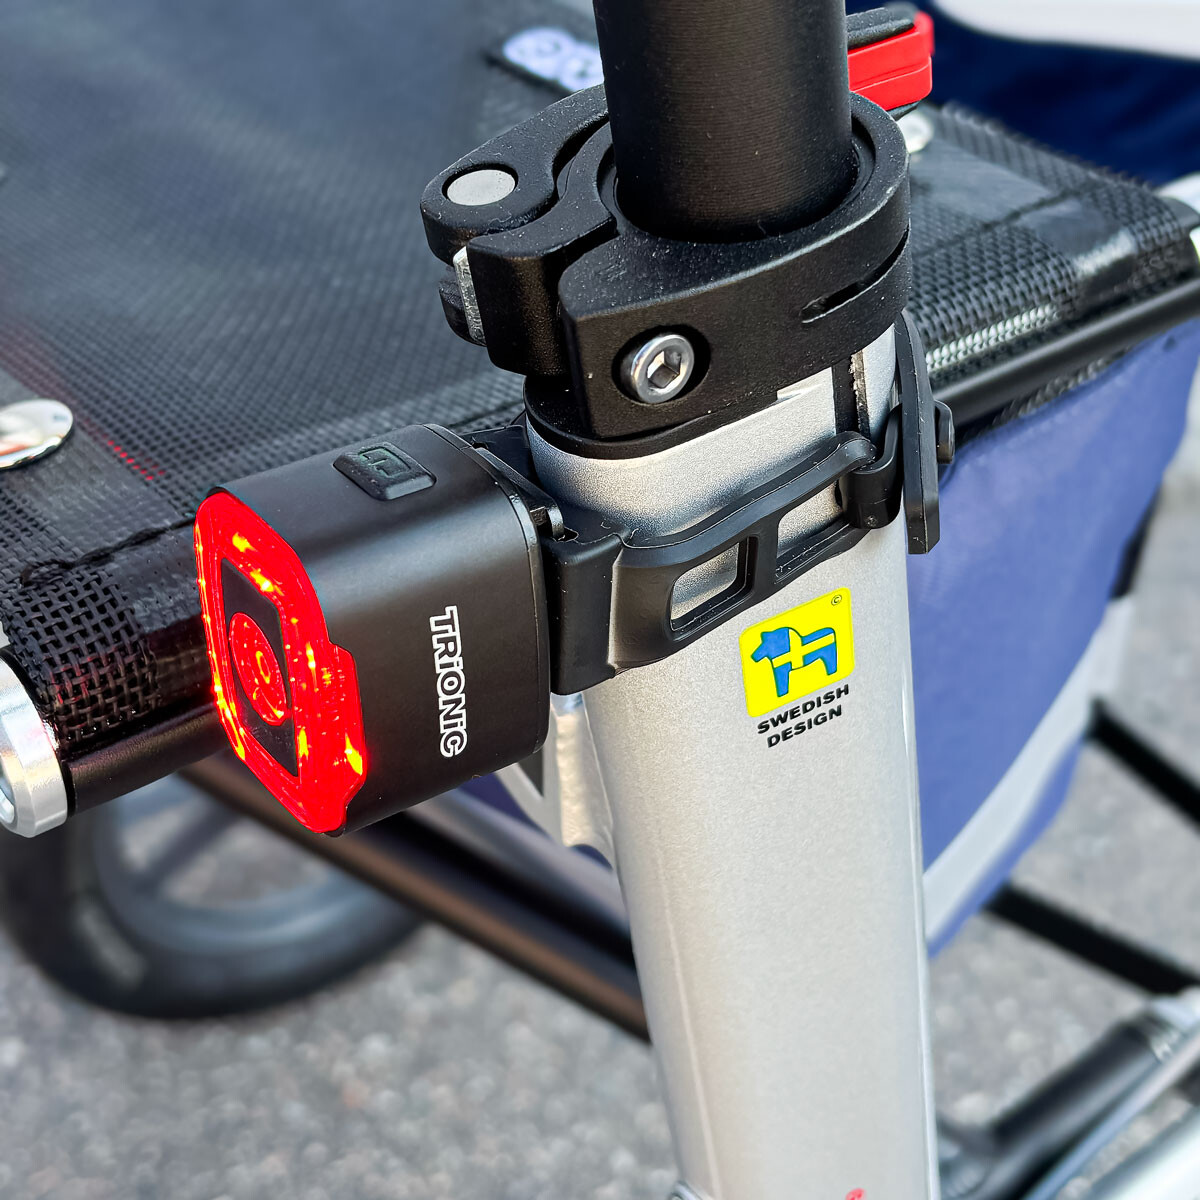
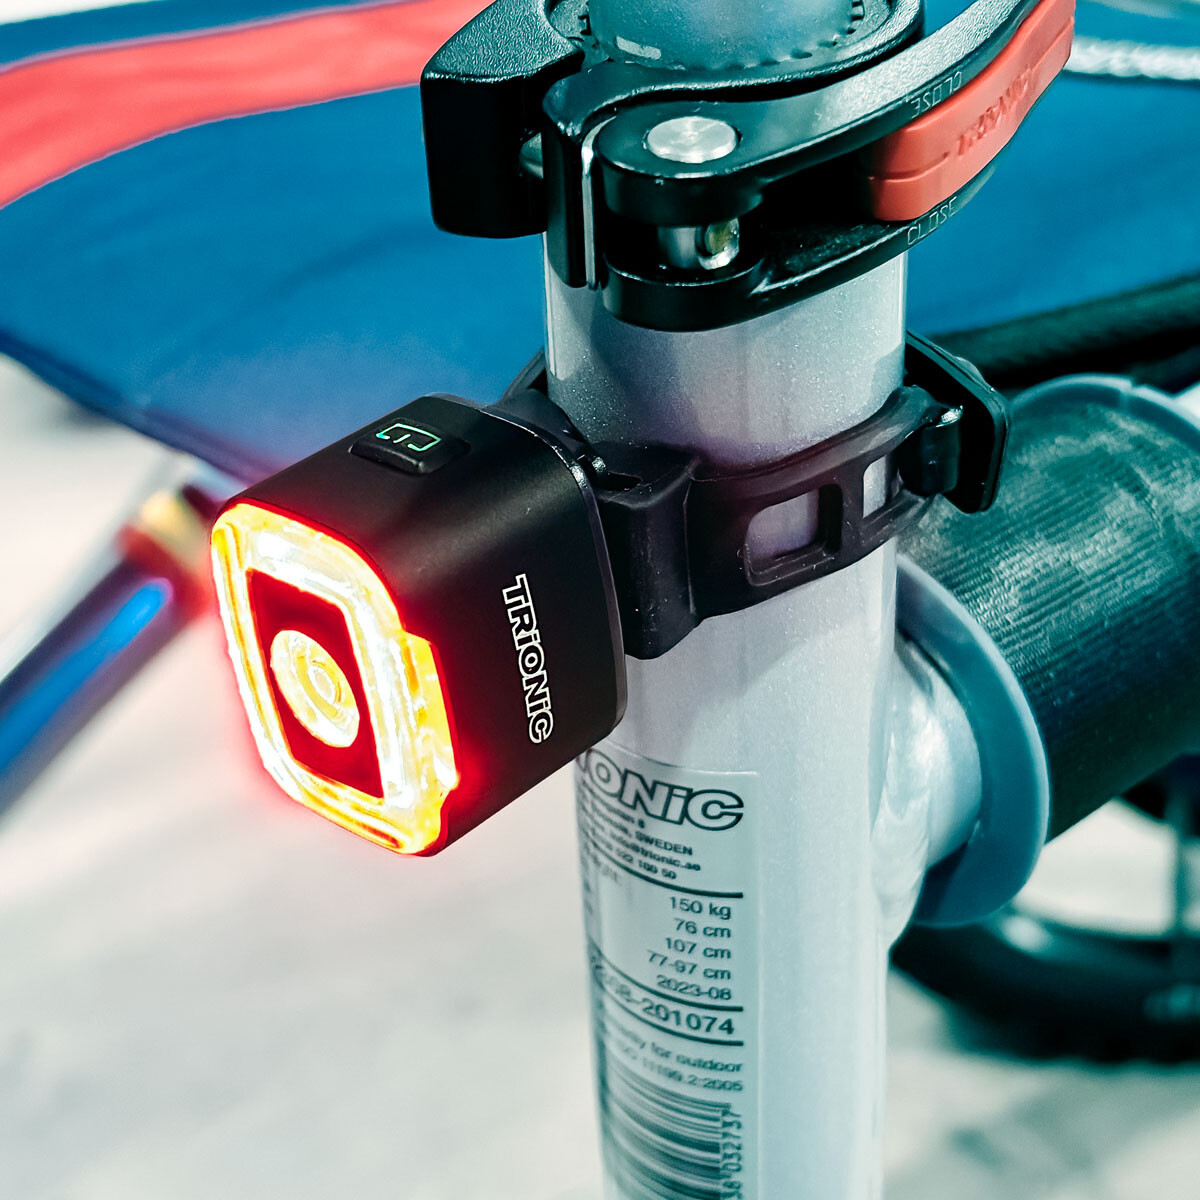
LED Rear Lights 70 Lumen Rechargeable (pair)

Rear Light for Rollators

SKU: 11-90-037
Stock Status: In Stock
Region: Available
(Item does not ship from the EU to Australia, Canada, or the USA.)
Delivery Status: 3-5 working days
₩66,629
Excluding Tax
pcs

Get your personalised quote
Tell us what you need, and we’ll send you a personalized quote.
Request a Quote
Receive Your Quote
No obligation • We typically reply within 24 hours
Fast response
No credit card required
Free quote

Rollator LED Rear Lights 70 Lumen with Rechargeable Batteries (pair)

Purpose:         To be seen
Light power:   70 Lumen

Key Features:

  • Bright and clear lighting: Features both flood and spotlight LEDs for maximum visibility
  • Multiple modes: Steady, flashing, or combined – choose what suits your needs
  • Rechargeable battery: 400 mAh Li-poly battery provides up to 4+ hours of runtime
  • Easy mounting: Comes with seatpost and saddle brackets, plus zip ties for simple attachment to rollator frames.
  • Durable build: Matte black anodized aluminum – built to withstand everyday outdoor use

What’s Included:

  • USB-C charging cable
  • Mounting brackets (seatpost & saddle)
  • 2 different attachment straps, both for the Veloped and the Walker
  • User manual

Whether you're walking through the city or enjoying nature at dawn, the Trionic LED Rear Lights helps ensure you're seen – and safe.

Max. lumens:70 Lumen (Red)
Main materials:Aluminum alloy frame+PC
Accessories included: Seatpost bracket, Saddle bracket,
Nylon ties*2, USB cable, Manual
Charging port: Type-C
Colour: Matt black+red lens
LED type: 20PCS Red COB CHIPs (LED A, flood light) +
1pc XP-E2 Red LED (LED B, spotlight)
Battery capacity: 400mah rechargeable li-poly
Charge time: 3h
Size (W/O bracket): 38.5(L)*29(W)*32.2(D)MM
N.W (W/ bracket): 40.3g
Finish: Fine anodizing

User Guides

The documentation for this product includes the manuals and instructions listed below. You can choose to view the documentation online or download it for local use.

70 Lumen Trionic LED Rear Lights (pair)

This manual both shows how you attach the rear light and the light on a Walker (left column below) and also how you attach them on a Trionic Veloped (right column below).

In the left-hand photo, A shows the 10-degree angled strap for attaching the lights on a Trionic Walker. B shows the 0-degree angled strap for attaching the lights on a Trionic Veloped.

B shows the 0-degree angled strap for attaching the lights on a Veloped.

70 Lumen Trionic LED Rear Lights

Attaching the LED Lights

Instructions for a Walker

Of the two rubber straps included, choose the one with a 10-degree angled light attachment section.
A1. Of the two rubber straps included, choose the one with a 10-degree angled light attachment section.
Push the light into the slot of the strap until it snaps in place.
A2. Push the light into the slot of the strap until it snaps in place.
Attach the light to the Walker, either on the semi-vertical frame tube just below the height adjustment quick-release lever, or on the black semi-vertical grip tube. Pull the strap tight and fix it with the plastic hook.
A3. Attach the light to the Walker, either on the semi-vertical frame tube just below the height adjustment quick-release lever, or on the black semi-vertical grip tube. Pull the strap tight and fix it with the plastic hook.
Pull the strap tight and fix it with the plastic hook.
A4. Pull the strap tight and fix it with the plastic hook.

Instructions for a Trionic Veloped

Of the two rubber straps included, choose the one with a 0-degree angled light attachment section.
B1. Of the two rubber straps included, choose the one with a 0-degree angled light attachment section.
Push the light into the slaot of the strap until it snaps in place.
B2. Push the light into the slaot of the strap until it snaps in place.
Attach the lights to the Trionic Veloped, preferably on the two rear vertical frame tubes, below the height-adjustment quick-release levers. Pull the strap tight and fix it with the plastic hook.
B3. Attach the lights to the Trionic Veloped, preferably on the two rear vertical frame tubes, below the height-adjustment quick-release levers. Pull the strap tight and fix it with the plastic hook.
Pull the strap tight and fix it with the plastic hook.
B4. Pull the strap tight and fix it with the plastic hook.

Instructions for Use

The package contains

Caution

It is normal for the battery to reach a high temperature (up to 104°F / 40°C) during charging due to chemical reactions within the battery. The battery may also become warm if it is not fully drained before charging.

Several factors can affect the battery's lifespan, including the type of cell, usage strain, maintenance routine, temperature, and the number of charge cycles. Generally, a higher battery capacity results in a longer operation time.

The battery capacity may decrease to approximately 80% of its original capacity after 300–500 charge/discharge cycles. With proper care, the battery can have a lifespan of up to 3 years.

Water resistant is for rain water only. Do not submerge the bat- tery or the whole light into water when cleaning. Clean the light with a soft damp cloth when needed."

Battery Performance

Battery performance is significantly affected by temperature variations:

Low Temperature: At 0°C, capacity decreases by 5–10%, reducing operation time by 50%. At -20°C, capacity drops by 30%, potentially shortening operation time by 70%. Performance returns to normal when the temperature rises to 20°C.

Self-Discharge Rate: At room temperature, the battery loses about 1% of its capacity per day. When stored at 40°C, the self-discharge rate increases, leading to a loss of approximately 5% of capacity per day.

To maintain optimal battery performance, avoid exposing it to extreme temperatures and store it in a cool, dry place.

If you do not use the battery for a long time be sure to recharge the battery every 3 months.

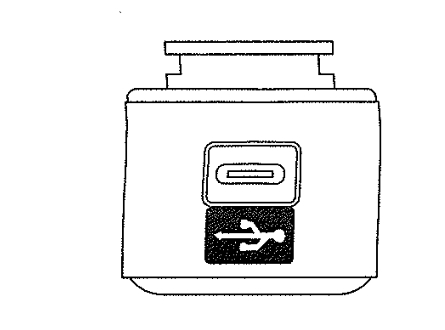
How to charge the battery

  1. Find the charging place at the bottom of the light.
  2. Lift the rubber cover to access the charging port.
  3. Plug the USB-cable into your USB-charger.
  4. Plug the charging cable into the light's charging port.
  5. The indicator shows red during charging.

The charging indicator turns green when fully charged.

Attention: Use the original supplied USB-cable to charge the battery. Unplug the charging cable once the battery is fully charged.
How to charge the battery

How to operate the light

Press and hold the switch for 2 seconds to turn the light on or off. Click once to cycle through modes.

Safe Mode

When the battery is low, the light will automatically switch to a 5-lumen steady mode, providing an additional 30 minutes of operation.

Customer Reviews

David Cunliffe
Excellent lights
Excellent lights
A pair of bright red lights enabling rear approaching traffic to see danger (me!).w
Christiane Frees-Tillil
They'll definitely be easy to see.
I haven't been out in the dark yet, but I suspect they are easy to see.

General FAQ

Relevant Guides

Search help

Also Purchased Products

Product Reviews    

  • Major benefits over rough ground…

    My Veloped Sport has had major benefits above & beyond my old standard rollator. Walking out in woods with the dogs no need to steer around rough areas, just push & go.
    Walking over my horse's field is easier, doesn't get stuck in rough ground & Chr…

  • Trionic Veloped…

    The company rang me to discuss the best options for me, and I felt they were right. the Trionic Veloped is a great walker for me. It allows me to walk normally upright and quite fast.…

  • Makes mum active…

    We bought the Tour 12er for our 92-year-old mother so that she can continue to walk her beloved forest paths after a triple pelvic fracture, which has permanently limited her mobility. After initial protests (I don't need a rollator, I'm not that fra…

  • Veloped Trek is an excellent help…

    With the Veloped Trek I can walk longer distances again with pleasure. It helps me to get upright so that I can breathe better again. Above all, I appreciate that with the Veloped Trek I can walk again without much effort along paths in the park, for…

  • Mrs V Potts…

    I purchased this for my husband, but he will not use it, don't know why as he hardly walks anywhere as he is not very steady on his feet. Having said that I keep thinking I will make use of it myself. At the moment I have only moved it a short way, b…

  • Life-Changing…

    I bought this for my 82 yr old mother. She loved to walk in the countryside and on wooded paths, but concern about balance had really slowed her down and she complained she could only walk 1 mile and needed to take breaks. I gave her the Veloped as…

  • Good concept for replacement…

    I needed to replace a brake lever because the thread for the clamping screw was worn out. I looked for the instructions on this site and have to say it was super simple to replace the lever. Simply remove the handle, pull off the brake lever, remove …

  • Simply more comfortable than without back cushion…

    My mother is very happy with the Veloped back cushion.…

    Veloped Backrest Padding
    by Matthias Schläfer
  • Perfect…

    The bottle holder is perfect!…

    Veloped Bottle Holder
    by Klaus Knoke

Subscribe to our newsletter!

"> ?>